One of the final projects for my Udacity VR course was to build a Rube Goldberg machine. Udacity provided a set of textured models for objects and a play area. Students were instructed to create a tutorial, design object interactions, create an object menu with spawning, add some custom object physics, and define the gameplay.
Here is a link to a video showing the game in action
INTRO
The idea behind this version of the Rube Goldberg machine was rather straight forward. String together a bunch of objects that allow for a ball to make it from a start position to the goal. The twist was introducing stars that needed to be collected by the ball along the way. Gameplay requires a user to construct a Rube Goldberg machine to guide a ball from a start to goal while collecting all stars in between. Level progression happens when all stars are collected, and the ball reaches the goal.
Supplied assets included a play area and objects to interact with, planks, a big fan, and a trampoline. The objectives were the following.
- Implement a tutorial
- Create game play with a designated throwing area, token collection, goal area, cheat detection, and multiple levels
- Controller interactions for spawning objects from a menu, teleporting the player, and grabbing and placing objects within a level
- Create two more unique gameplay objects
This project was built in Unity using the SteamVR plug-in, the target platform was Windows PC with an HTC Vive.
CODE
I will touch on some of the main points from the scripts I wrote, you may find them all in the Assets/Scripts (GITHUB) directory. Everything except the “TextMesh Pro” directory was written by me.
Some of the code design was inspired by examples I found in the SteamVR source code. I did not want to rewrite what possibly took their team of engineers many months to produce, also felt it would not be right. But I did cherry-pick some of their patterns.
Controller Input Manager
The main talking points here are how I went about setting up the controllers to be defined as left and right with the correct action assignments. The left hand is for teleportation and grabbing objects, while the right hand is for spawning and grabbing objects.
Trying to assign each controller the appropriate function callbacks based on the left and right-hand roles was not easy. I kept having the controllers become unassigned or swap hands for what I thought was no reason. I did eventually get it to work, as explained below. I was able to use static variables and reentrant code since both controllers used the ControllerInputManager Class.
In Start() we get the SteamVR_TrackedController object. Then we wait for the SetDeviceIndex message. SetDeviceIndex() is where the controller left and right-hand assignment is determined. It will make sure that both controllers are assigned, and whichever controller is that last to become assigned will set the callbacks for both controllers using the static Class references. It took allot of trouble shooting to get to this point. Originally within Start() I would grab the device index, check it if it was left or right hand, and then assign callbacks. The problem was that within the SteamVR_ControllerManager Class, it might reassign your controller at any time from OnTrackedDeviceRoleChanged(). Again allot of troubleshooting to find this out and led to SteamVR_ControllerManager.cs . It was weird that at the time I was working on this, I stumbled across this tweet. . It was nice to be able to help someone out.
Within ControllerInputManager.cs you will find all the code for controller actions:
- Object Menu
- Grabbing Objects
- Teleportation
- Tutorial state and Coroutines
- Gameplay hints
OnMenu* functions send messages to the controller's child Menu object for changing menu items, grabbing the current menu item's Prefab, and spawning that Prefab.
The Grabbing section somewhat follows the SteamVR example. There is a collider with onTrigger* events and assigns/unassigns hoverObject. The hoverObject is attached to a joint on the controller. When the user grabs an object OnGrabbbed and UnGrabbed messages are sent to that object.
Teleportation is performed by dashing the player to the location, which is executed within OnTeleportButtonUp(), by setting a flag that will cause Update() to call DashPlayer() and lerp the player to the teleport target.
Within the Tutorial_hints region, you will see it models the SteamVR pattern of coroutines, and I also use “if (gameManager.tutorial)” statements throughout the code. ShowHint() and StopHint() control the assigned *hint buttons.
I will admit that this Class is trying to do too many things. Ideally, each of the fore mentioned actions should be separated into their own Class. The tutorial logic is also a little bit spaghetti like, as it traverses into dependencies within GameManager.cs .
Tutorial
Sketch of the tutorial.
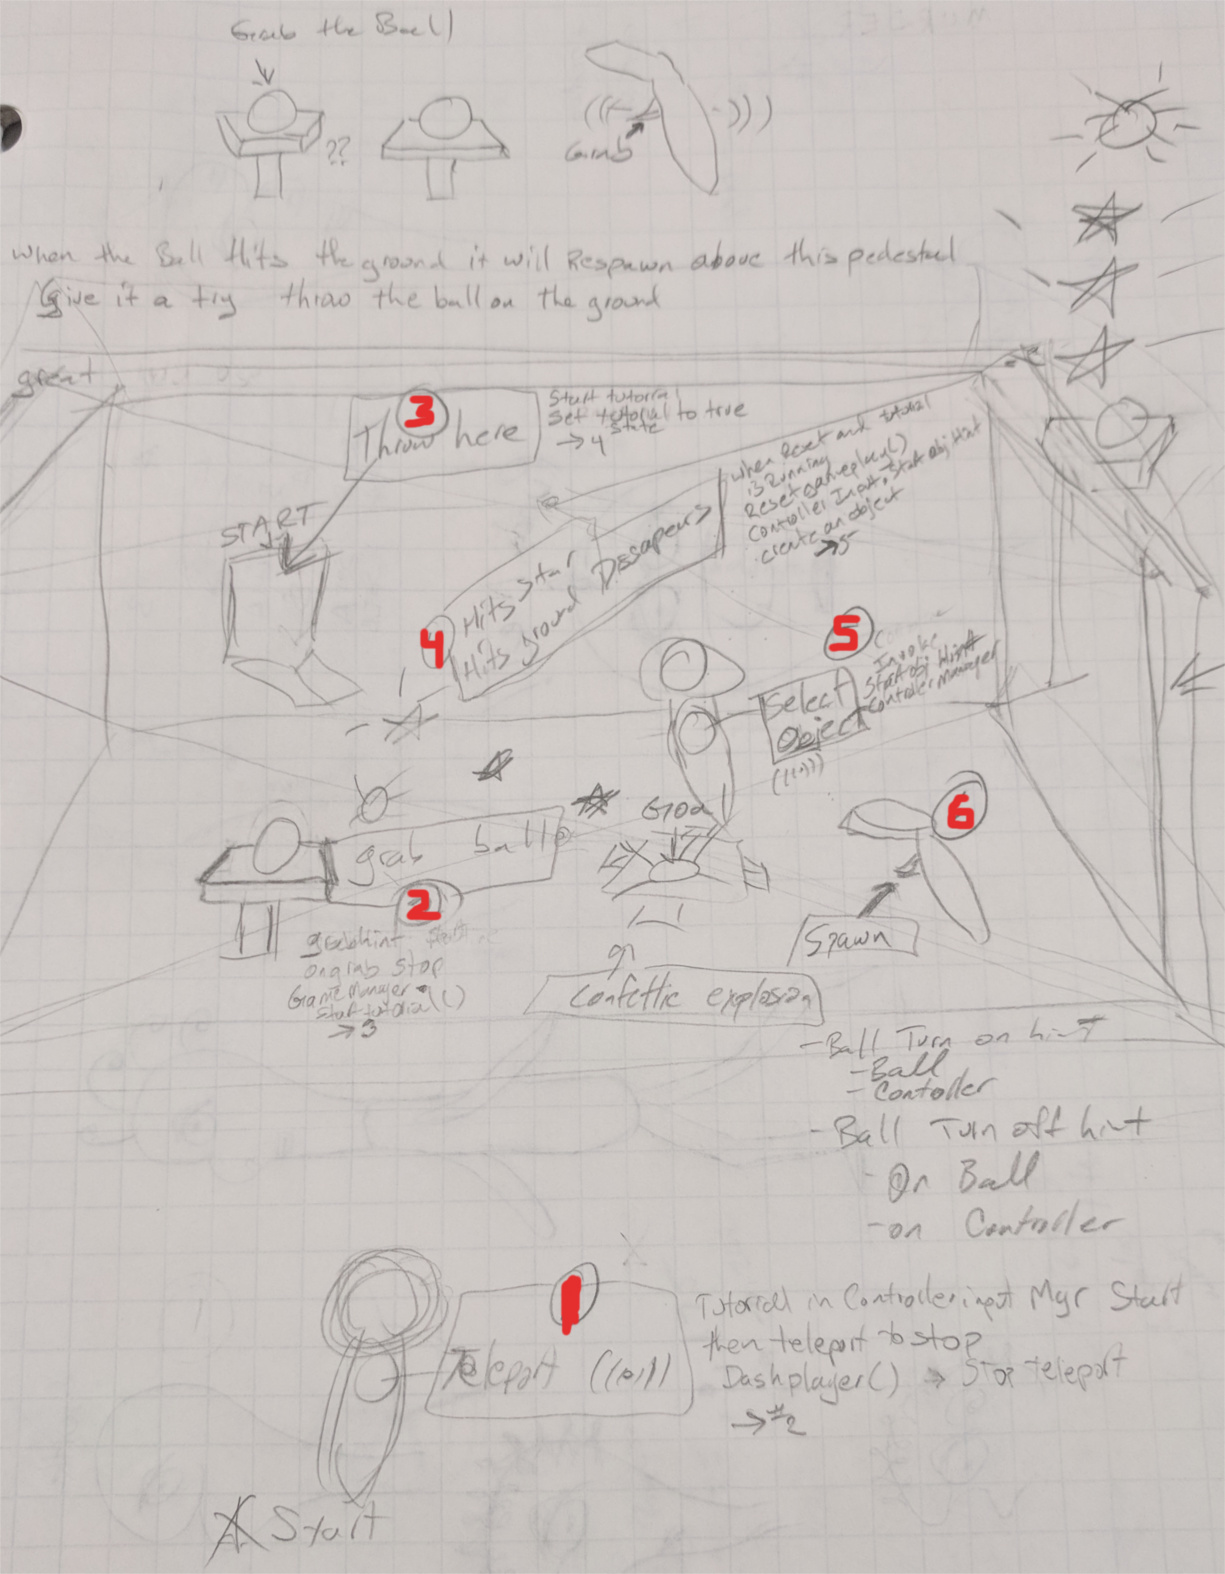
Vibration triggers bring attention to buttons for the user to look down and see the hint's that are in play at the time. (1) Just like the SteamVR example, we first start with the player away from the play area and bring up the hint to teleport. The user can see the gameplay area in the background, which grabs their attention, hopefully causing them to move towards that area.
(2) After moving to the play area a trigger to grab the ball and then where to throw it will come up next. (3) Once the user has thrown the ball to the start area and (4) it hits the ground resetting the pedestal, we (5) prompt the user to use the menu and (6) spawn an object.
Here are some of the hints.


You can see the spawn object hint in the pictures below.
Menu
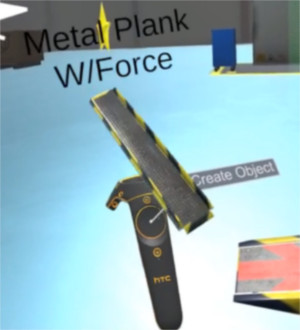
An object menu is a child object of both controllers. It is populated with scaled-down versions of the spawnable object models and their associated Prefabs. When a menu item is selected, the ControllerInputManager requests the Prefab and spawns it within the scene. Though effective it does not scale very well. You have to manually assign the scaled model version and Prefabs for any new object you want to add. I would have rather had it procedurally generate the menu and make it usable for another project.
MenuController.cs allows the user to switch through the available objects for spawning. Looking back this implementation may have been better served by using a circular queue.
Here is a sketch for one menu concept.

Here are some screenshots of the final implementation, imagine them rotating.


Objects
What would a Rube Goldberg game be without the objects? Pretty lame I'm sure.
Here are two objects that I sketched up but did not implement
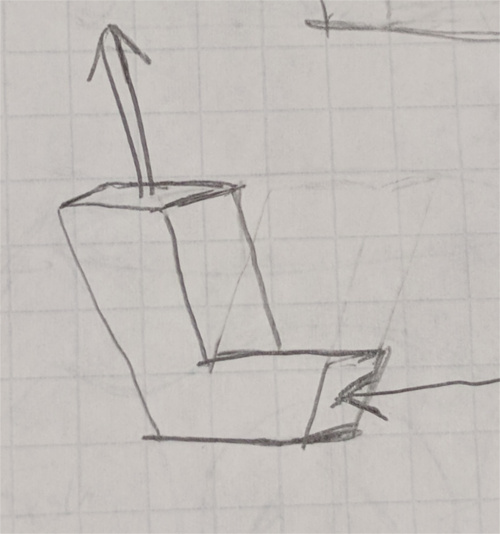
This one ended up being the plank with force.

Some unique things I did add were directional arrows for the airflow on the fan, an impulse force on the plank w/force, and a teleportation cube set. Here are the windflow directional arrows in action.

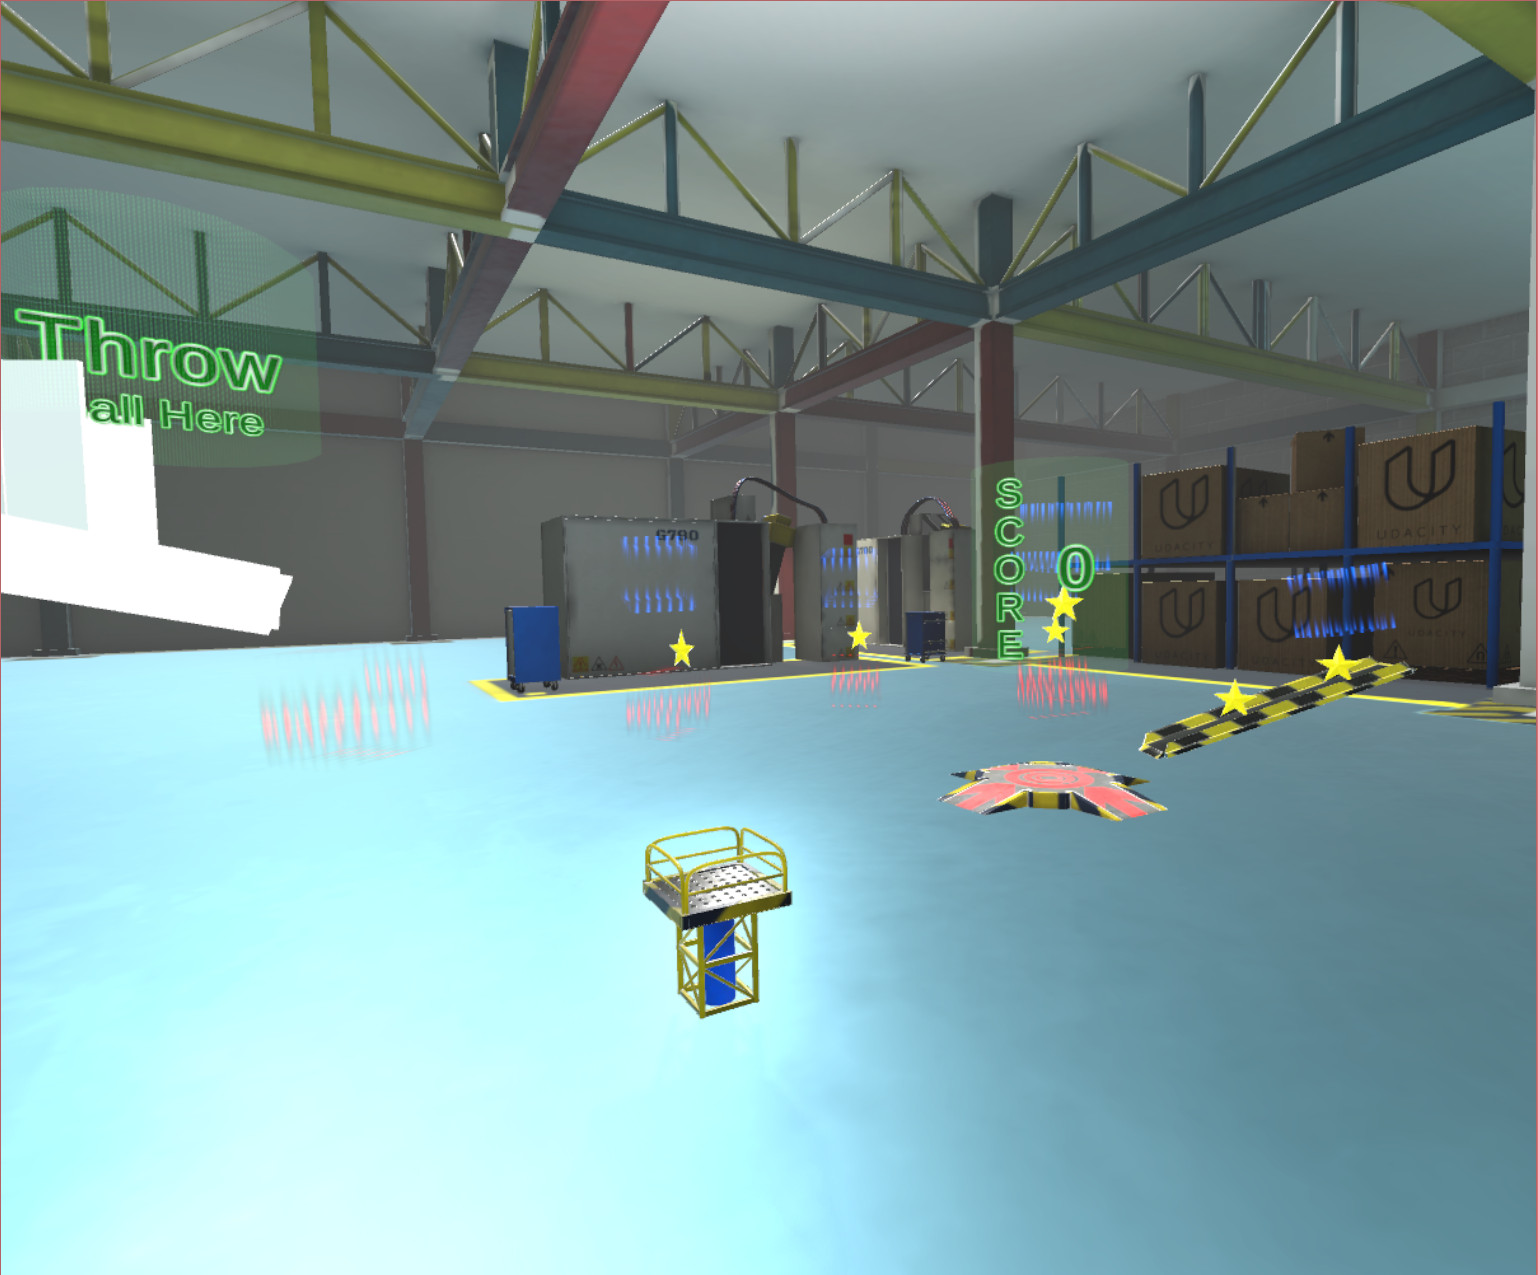
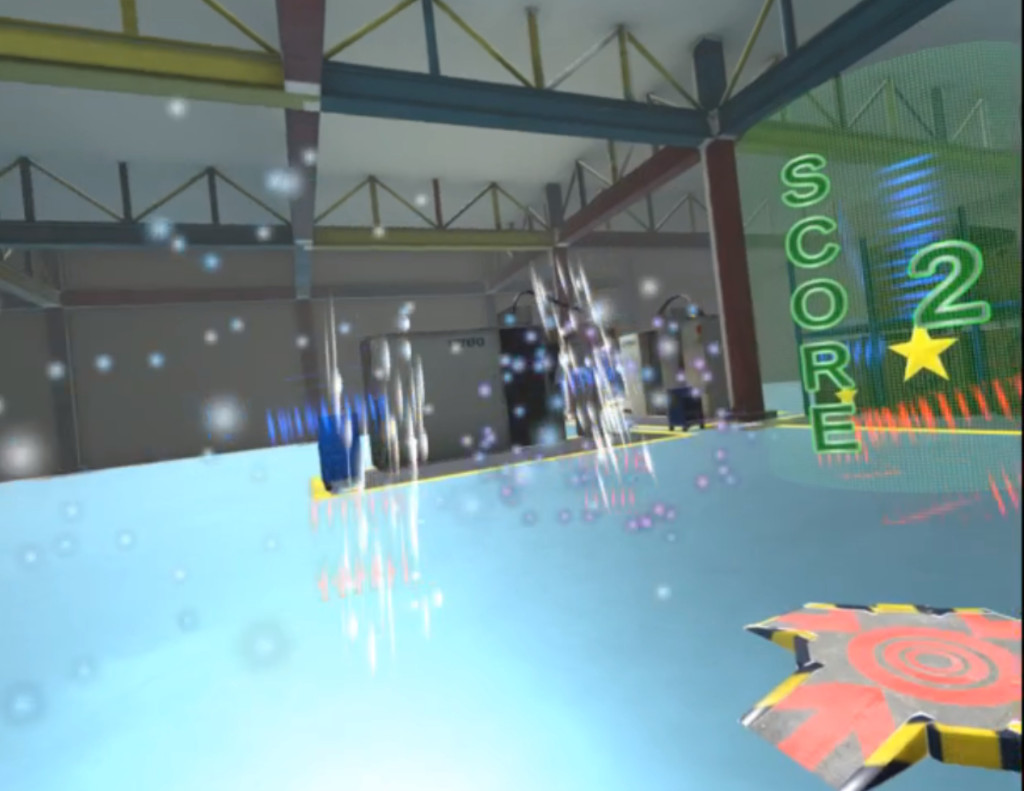
The red and blue teleportation blocks are showcased here. They were not pretty but got the point across and did the trick. To get the material movement effect the transporter material offset is changed within Update() of the TransporterFlasher Class. There are also callbacks for grabbed and ungrabbed events within Transporter.cs sent by the ControllerInputManager Class. When grabbed those messages will enable the line renderer that visually links a source and destination transporter set. I also tried to mimic the enterprise transporter effect.
GameManager
The GameManager Class handles all the gameplay action. It tracks the start and end goal interactions, performs cheat detection, adds up the score, and resets game state. It also has some tutorial code that follows the same pattern as before with callbacks and coroutines.
Utility
There are some other scripts that were used as well. One for the hovering objects, and billboarding effect that were used on the start and goal signs as well as the force arrows. These I stuck in a folder called Utility. I usually try to put things in there that may be used in other projects. rotator.cs is one that always seems to get used.
Conclusion
You may download the binary release here: RubeGoldbergBuild.zip .
It was fun to make and a good challenge to get familiar with the SteamVR API. I hope you enjoy it as well.
-Jim